Building the Hearth & Insulation
Started the hearth build for this I used Horticultural Medium Grade Perlite mixed with cement 4:1. I found a bargain because I bought 100 Litre Bags of perlite for £13 a bag (£8 in Homebase for 10L bag).
So the objective was to create a lightweight insulated base. Apparently 1 inch of PERLITE mixed with cement is equivalent to 10 inches of standard poured concrete !!!.
Here the hearth void was 10cm depth so quite a bit to fill!
People recommend to mix the perlite by hand but I did a bit of both. I used 3 x00 Litre bags of perlite & 2x25kg bags of cement - I was quite surprised at the amount of materials it took, but if its true about the insulation qualities then I should have equivalent of 40 inches of concrete insulation with a fraction of the weight.
To show how light it was I could lift a full wheel barrow of mix up to the 90cm height of the hearth to pour.... try doing that with a full barrow of concrete.
The perlite is quite a strange material, its naturally occurring non-toxic, natural volcanic rock which is heated to a high temperature (1500c) to produce a lightweight micro-porous granules.
As its quite granular it took quite a lot of levelling...... managed to get it level-ish which is as good as I get!
Then for the fire-insulation board - I made sure this was level so the bricks could be placed on top without any mortar. Rationale for this is if a brick cracks it can be easily replaced - we will see!
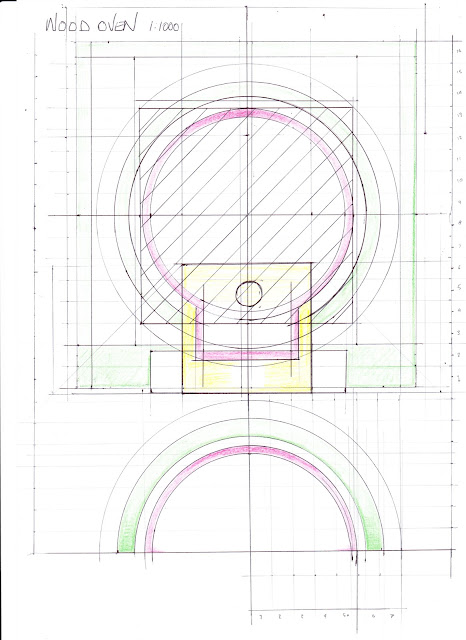
Marked out a 86cm circle to show interior of the oven dome.
Placed the firebricks on top of the insulation board. Looking closely I may have to grind the hearth level to ensure no edges are cough by utensils during cooking.
Marked out the Ovens dome dimensions. I've used a staggered pattern... people say that you should use a 'herringbone - diagonal' pattern but I really couldn't be bothered cutting loads of firebricks.
Looks level.... ish!
Now started to cut the limestone flags that will make the mantle & ledge around the dome.
Its key that this is on level with the top of the firebrick with a good mortar bed.
The bricks indicate where the opening of the oven will be.
The flags are 60x60cm Blueblack Limestone which are the same as the patio.
I estimate I'll need 6 if I don't have any 'mishaps' in cutting.
Flags now mortared in - levelled them slightly forward to make sure the rain runs away from the oven.
Canopy come in handy to protect from our lovely spring/summer/winter weather!


